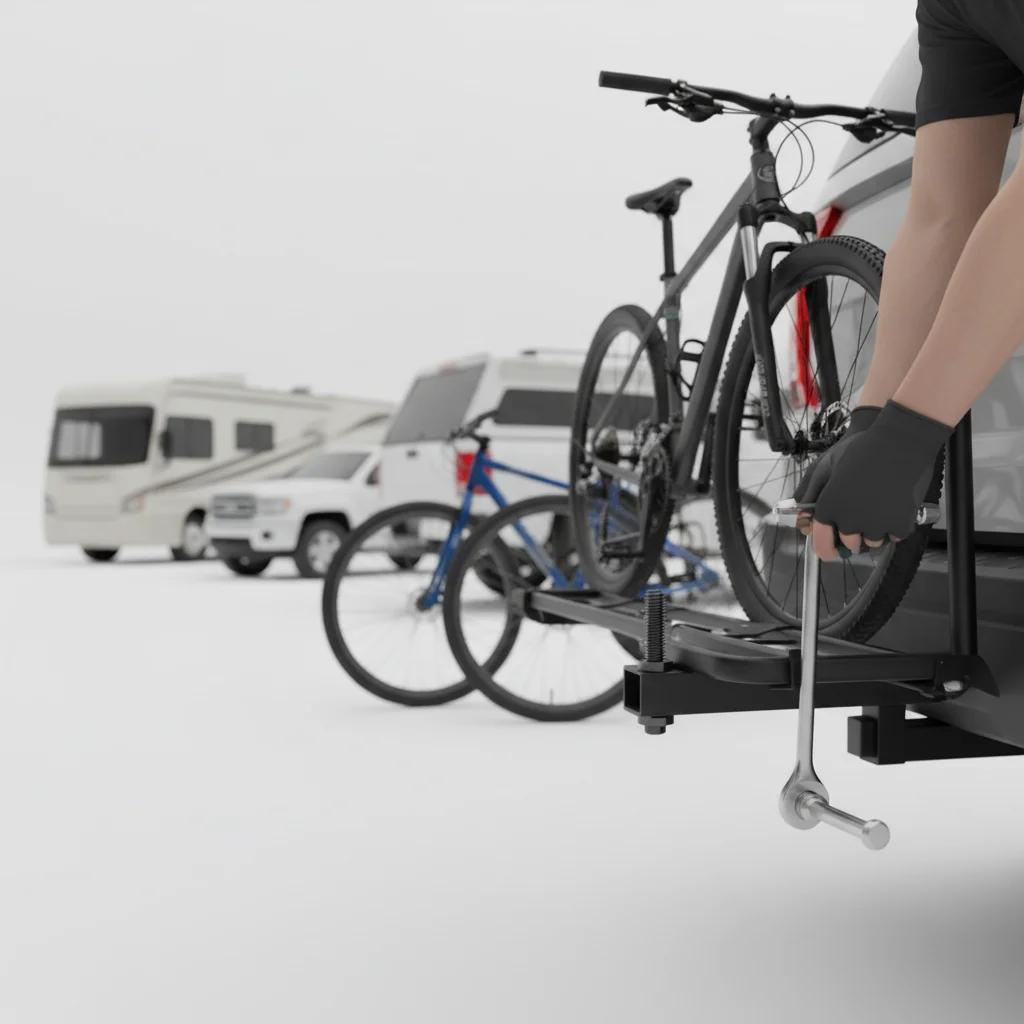
Proper hitch bike rack installation is crucial for the safety of your bikes and vehicle. There are typically three main steps to correctly install a hitch bike rack, ensuring it’s secure and ready for transport. These steps involve preparing your hitch receiver, mounting the rack, and securing the rack to prevent wobble and theft. Following these guidelines will help you achieve a stable setup every time you hit the road.
Preparing Your Vehicle’s Hitch Receiver
Before you even unbox your bike rack, inspect your vehicle’s hitch receiver. Ensure it’s clean and free of debris, rust, or any obstructions that could prevent a snug fit. A wire brush can be useful for clearing out any grime. Confirm that your hitch receiver matches the size of your bike rack’s shank, most commonly 1.25 inches or 2 inches. Using the correct adapter, if necessary, is vital for a secure connection. Lubricating the inside of the receiver with a small amount of grease can also make insertion smoother, though it’s not always required.
Mounting the Bike Rack to the Hitch
With your hitch receiver prepared, carefully slide the bike rack’s shank into the receiver. Align the pinholes on both the hitch and the rack. Once aligned, insert the hitch pin through both holes. This pin is the primary connection point. For added security and to reduce sway, many racks include an anti-wobble device, such as a threaded hitch pin or a separate anti-rattle bolt. Tighten this mechanism according to the manufacturer’s instructions. Over-tightening can damage components, while under-tightening can lead to excessive movement.
- Ensure the hitch pin is fully inserted and secured.
- Tighten any anti-wobble bolts or mechanisms.
- Double-check all connections before loading bikes.
- Confirm the rack is level and not obstructing lights or license plate.
- Test for any excessive movement or play.
Securing Bikes and Final Checks
|
Our Picks for the Best Bike Rack in 2026
As an Amazon Associate I earn from qualifying purchases.
|
||
| Num | Product | Action |
|---|---|---|
| 1 | monTEK Swivel Bike Wall Mount, Bike Hangers for Garage, Space-Saving Vertical Bike Rack, Sturdy Bike Storage Rack Holds Up to 66lbs, Easy to Install, 4 Pack |

|
| 2 | KUAT Sherpa 2.0 Durable Lightweight Aluminum Compact 2 Bike Transporting Hitch Rack with Cable Lock & Foldable Tire Cradles | Capacity - 40 Lbs per Tray |
|
| 3 | Allen Sports Deluxe 4-Bike Hitch Mount Rack (2-Inch Receiver) , Black |
|
| 4 | Vertical Bike Stand, Freestanding Bike Rack Garage Storage Upright Bicycle Floor Stand Indoor Bike Holder with Adjustable Height for Garage & Apartment - for Wheels Sizes up to 29” |
|
| 5 | 2 Bikes Floor Stand,Adjustable Bicycle Parking Rack with Hook for Garage/Indoor/Outdoor,Metal Cycle Storage Organizer Rack for Road Bikes |
|
| 6 | CyclingDeal Upright Bike Stand Floor - Vertical & Horizontal Bicycle Stand Bicycle Storage - Safe & Secure Bike Storage Rack - for Wheels Sizes up to 29" - Bike Rack Garage Bicycle Rack - Classic |
|
| 7 | CHEPARK Bike Floor Stand Rack- Indoor Bike Stand for Garage/Home - Bike Storage Bicycle Parking Rack Fit 20”-29” Mountain Road Bikes (1 Bike Rack) |
|
| 8 | Young Bike Rack Hitch for Car - 200LB 2-Bike Rack Hitch Mount Platform Style Hitch Bike Rack,Smart Tilting & Easy Fold for Car SUV with 2 Inch Receiver,Bike Carrier Fits Up to 5-inch Fat Tire |
|
| 9 | Vertical Bike Stand, Upright Bike Parking Rack Floor, Adjustable Bicycle Storage for Wheels Sizes up to 29", Freestanding Bicycle Organizer with Swivel Casters, Indoor Bike Holder for Garage 2-Pack |
|
| 10 | Vertical Bike Parking Stand - Adjustable Height for 29"Wheels, Space-Saving & Freestanding Bike Rack for MTB/Road Bikes,No-Drill Installation Indoor Bike Storage for Apartments & Garages |
|
Once the rack is firmly attached to your vehicle, it’s time to load your bikes. Always follow the manufacturer’s guidelines for bike placement and weight limits. Use the integrated straps or cradles to secure each bike individually. For additional security, consider using a cable lock to loop through your bike frames and the rack itself. Before driving, perform a final walk-around inspection. Check that all straps are tight, bikes are stable, and the rack isn’t obstructing your vehicle’s lights or license plate. A quick test drive at low speed can help identify any unexpected wobbles or noises.
Common Installation Challenges and Solutions
Even with careful installation, you might encounter a few common issues. If your rack feels wobbly, re-check the anti-wobble device and ensure it’s tightened correctly. Sometimes, a slightly undersized hitch receiver or an overly worn one can contribute to play; in such cases, a hitch tightener clamp can provide a more secure fit. If the hitch pin is difficult to insert, ensure the holes are perfectly aligned and free of debris. Never force the pin, as this could damage the hitch or the rack. For racks with integrated locks, ensure the key turns smoothly and the locking mechanism engages fully.
Maintenance for Long-Term Stability
Regular maintenance is key to ensuring your hitch bike rack remains stable and safe over time. After each use, especially if you’ve driven in wet or dusty conditions, clean the rack to prevent dirt buildup. Periodically inspect all bolts, pins, and straps for wear and tear. Replace any damaged components immediately. Lubricate moving parts, such as pivot points or locking mechanisms, with a silicone-based spray to keep them operating smoothly. Storing your rack indoors when not in use can also extend its lifespan and prevent rust.

I appreciate the tips on preventing theft, especially the mention of using a locking hitch pin. I’ve had issues with racks feeling loose before, and while the guide helped with stability, I still had a little trouble getting my particular rack to stop all movement. It’s better than before, but not perfectly rock-solid.
I always struggled with getting my old rack to feel truly secure, but following the steps for preparing the hitch receiver made a huge difference. Cleaning it out and making sure the adapter was snug really cut down on the wobble. My bikes feel so much safer now, even on bumpy roads. Definitely a game changer for my weekend trips!
Finally, a clear explanation of how to get a stable setup! I used to dread putting my bike rack on, but focusing on the three main steps, especially securing the rack to prevent wobble, made it so much easier. My 1.25-inch rack now feels incredibly solid, and I’m not constantly checking my rearview mirror anymore. Highly recommend these instructions.
This guide was super helpful for mounting my new 2-inch hitch rack. I used to just jam it in, but taking the time to properly align and secure it made the whole process smoother. The only minor thing is that I wish there was a bit more detail on specific tools for tightening, but overall, it was very clear and effective.